

Lawn Aeration and Scarification: The Ultimate Guide
What is the Difference: Scarifying vs. Aerating?
Lawn Scarification (Removing Thatch)
In simple terms, lawn scarification is a mechanical maintenance technique that removes "thatch" from your lawn. Thatch is a layer of dead grass, moss, and other organic matter that naturally forms on top of your soil over time. A very thin layer of thatch is actually beneficial; it helps your lawn retain moisture and acts as insulation to protect the grass roots.
However, if that layer gets thicker than ½ an inch, it becomes a problem. A thick layer of thatch acts like a waterproof blanket, preventing rainwater and essential nutrients from reaching the soil. This stunts new grass growth, encourages moss and weeds, and creates the perfect breeding ground for lawn diseases.

Lawn Aeration (Relieving Compaction)
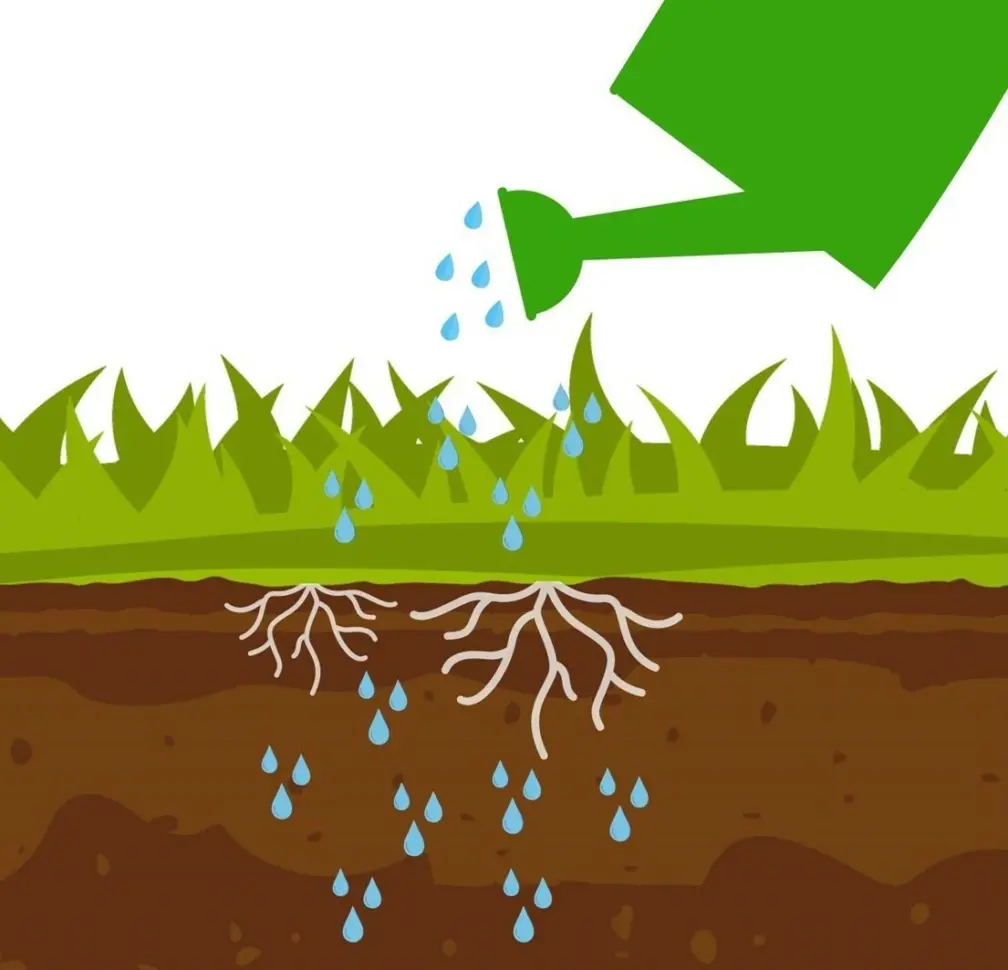
Lawn aeration works perfectly after you have scarified, as removing the thatch allows you to easily reach the soil beneath. Aeration is the process of creating small holes in the ground to improve air circulation and loosen compacted earth.
There are two main ways to aerate your lawn:
- Spike Aeration: This method punches solid holes into the ground without removing any soil. It is fast and a great choice for lawns that are only slightly compacted.
- Plug (Hollow Tine) Aeration: This method uses hollow tubes to pull small "plugs" of soil completely out of the ground. These larger holes stay open much longer, allowing water, oxygen, and nutrients to penetrate deeply. This is the best method for heavily compacted, hard soil.
The Benefits of Aerating and Scarifying
Stronger, Thicker Grass: Breaking up compacted soil and removing thatch allows your lawn to absorb maximum water and nutrients, resulting in deep roots and vigorous growth.
- Better Drought Tolerance: A deeper, healthier root system gives your turf much better resistance to hot, dry summer conditions.
- Improves Drainage: Removing excess thatch and relieving compaction can help water move into the soil. Sitting surface water starves roots of oxygen and encourages fungal issues like dollar spot disease.
- Reduced Moss and Weeds: Moss thrives in damp, highly compacted soil. Reducing thatch and relieving compaction can support healthier grass roots, helping the lawn compete with moss and weeds.
Help Your Lawn Recover Rapidly
Let’s be honest, immediately after scarifying, your lawn is going to look a little worse for wear. This is completely normal! Top-dressing and overseeding thin or bare areas can help your lawn recover after scarifying.

When to Scarify and Aerate Your Lawn
Scarify when excess thatch builds up, and aerate when the soil becomes compacted. Most lawns only need aerating annually. The best times to do this are during the active growing seasons: Spring and early Autumn.
Spring is great for a light scarify as the grass is growing quickly and will recover fast. However, Autumn is the ideal time for a heavy scarify and aeration, as exposing bare soil in the spring can sometimes invite unwanted summer weeds. Aerate when the soil is moist enough for the tines to penetrate easily, but avoid working on waterlogged, frozen or very dry ground.
How to tell if your lawn needs help right now:
- The Fork Test: Try pushing a standard garden fork into your lawn. If you struggle to push it in, your soil is heavily compacted and needs aerating.
- The Thatch Test: Dig up a tiny core of your lawn (about 3 inches deep) and look at the cross-section. If the spongy brown thatch layer above the soil is thicker than ½ an inch, it is time to scarify.
Step-by-Step: How to Do It
Before you begin, mow your lawn so the grass is roughly 1 inch high. If you plan to overseed it is worthwhile mowing the lawn ahead of time so it doesn't grow too long whilst you're waiting for the seed to establish.
Step 1: Scarify the Lawn
For small gardens: Use a manual spring-tine rake. Work in rows up and down your lawn, pushing the rake firmly into the turf to pull up the thatch. For the best results, go over the lawn a second time diagonally.
For large gardens: Hire or buy an electric scarifier. Start on a high setting to avoid shocking the turf, using it just like a lawnmower. Gradually lower the blades. Follow the manufacturer’s depth guidance and test a small area first, using a setting that removes thatch without unnecessarily damaging the turf.
Step 2: Aerate the Soil
For small gardens: Use a manual spike aerator, a hollow tine aerator, or a simple garden fork. Push the tool 4 to 5 inches into the ground, pull it back slightly to lift the earth, and remove it. Leave a 6-inch gap between every hole.
For large gardens: A mechanical aerator will save you hours of back-breaking work. Simply adjust the spike depth based on your soil type and walk slowly across the area.
Step 3: Recover and Repair
Once you are finished, your garden will likely look quite messy and bare. Do not panic! To speed up the recovery process, brush a high-quality Enriched Topsoil into the aeration holes to improve the ground structure, and scatter fresh Lawn Seed over the bare patches to encourage thick, vibrant new growth. Keep newly seeded areas moist while the seed germinates and the grass establishes, and minimise foot traffic during recovery.
