


How to Start a Community Garden
With the mild spring weather almost upon us, gardeners across the country are no doubt looking forward to getting to work on their projects once again and spending summer nights with friends and family in the garden.
Unfortunately, not everyone has the luxury of having their own outdoor space. Many new houses feature painfully small yards that are very restrictive or if you live in a flat – there likely won’t be a garden or any outdoor space available to you at all.
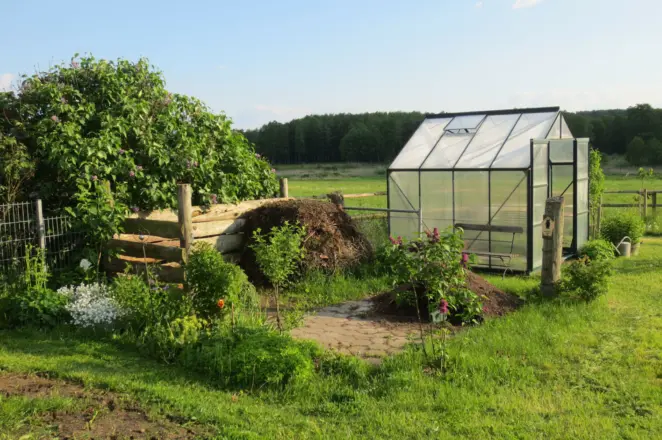
This is where community gardens come in. A community garden is a volunteer-led project where people from the local area work together donating their time to transform an often derelict or unused spot of land into a stunning fully functional garden.
Members can spend time there and share whatever fruit or vegetables that it yields. Not only is running a community garden a fun and rewarding experience but also it’s a great way to connect with likeminded people whilst making a huge improvement to your local area.
Before you Begin:
Getting a community garden up and running is sadly not a simple task, a fair level of planning and dedication is essential to bring the project to life. Here are some things that you will initially need to consider.
- Plan a suitable location for the garden:
The first and most important step is to identify a space of land nearby that can be used as your community garden. Take a look around the neighbourhood, ask the community for ideas. If you are reading and made it this far, you likely already have a spot in mind! - Contact the landowner/ local council:
With a nearby plot of land identified as a good space for your community garden, before any work can begin you will of course need to get in touch with the landowner and get their permission to use their land. You can usually find their contact details by getting in touch with your local council. Chances are the landowner will be more than happy for an army of volunteers to transform a derelict spot of land into a wonderful garden. You can find out the contact details of your local council here: - Speak to your neighbours and get the community involved:
A community garden requires help from the community! Get in touch with your neighbours and see if they are willing to join in and help. The more members you have, the more manpower at your disposal and the quicker jobs can get done. - Plan what the garden will look like and identify a suitable budget:
Talk with the community garden members and come to a decision on what you want in the garden and what it will grow, then identify a sensible budget for any tools and materials needed to make the dream happen. Members may already have some of their own tools they are willing to use, and for larger jobs -ask if some local landscapers that may even lend a helping hand. - Fundraise:
Depending on the current state of your chosen plot of land, you will likely require some initial funds to bring the garden to life. The easiest option is to pool some recourses together from each volunteer member. Alternatively, you could partake in some traditional fundraisers to help generate the initial money you need to begin. Think outside of the box e.g. online fundraisers such as a go-fund-me page.
If all of the above tasks are complete, great news - the hardest part is out of the way and it’s almost time to begin!

Planning Your Community Garden:
Now you have an ideal plot of land with permission from the landowner and have members of the community willing to help out, it is time to plan what the garden will look like and what you will grow.
You should take some time to get to know the land, taking note of where the sunlight reaches at different times of the day. If the garden is south facing it will take full advantage of the long summer nights and receive sunlight almost till dark! Knowing what direction the garden sets and what areas the sunlight reaches is essential to growing anything outdoors successfully, as all plants require at least 2 hours of direct sunlight per day to survive.
With this in mind, you can now plan what you will grow and where it should be positioned in the garden. Community gardens tend to like high yield, low effort crops such as tomatoes, potatoes, garlic, carrots etc. For help on growing specific crops, check out our growing guide section.
Organise a Routine:
At this point, you should have a good idea of what your garden will look like. Now it is time to get to work!
Successful gardens need a lot of love and attention and so the work should be divided equally among the community members. For larger jobs, there may even be a local landscaper that may be willing to lend a hand.
To help keep things organised, you can create a simple watering rota to ensure that the plants are watered each day. If everyone knows who is due to be watering the garden and when it is highly unlikely that simple tasks like watering will go undone.

Try to share the workload as evenly as possible and rotate jobs when necessary, as members who are assigned to heavier workloads, or more unfavourable tasks repeatedly may feel disillusioned with the project and may stop volunteering their time.

Look out for Pests and Disease:
When it comes to pests and diseases, prevention is always better than treatment however this is not always possible and chances are you will experience some kind of pest issue at some point in the gardening year.
There are many different kinds of pests and diseases you should be on the lookout for, and there is a variety of guides on our knowledge base section that will help with specific issues.
Some of the most common signs and symptoms you should look out for are:
- Eggs on the underside of leaves: These should be removed as soon as spotted otherwise they will hatch and begin eating your crops.
- Holes in leaves: Low hanging leaves are an easy target for pests like slugs and are likely to be eaten.
- Discolouration in leaves: Some discolouration in your leaves could also be signs of moisture stress, lack of sunlight, nutrient imbalance.
When using chemical pesticides or fertilisers on any plants, ensure that you always read the label and follow the instructions as stated, as they can be highly concentrated and overuse will have adverse effects on plant health.
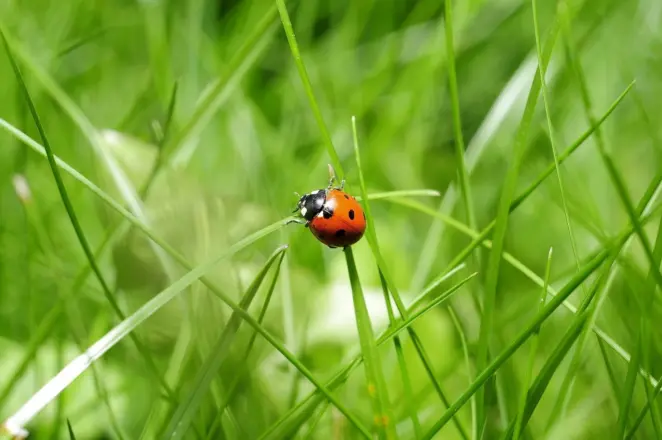
Embrace the Local Wildlife:
With the community garden flourishing, there is no doubt that the local wildlife will have noticed. Attract birds to the garden by leaving food & water, birds are fantastic to watch and they even help eat pests like slugs, snails, caterpillars and more.
Planting a variety of brightly coloured flowers that bear pollen will also help attract bees to help pollinate other flowers in the area and support their local hive. Bees are incredible pollinators but sadly their numbers have dwindled heavily in recent years due to the increased usage of pesticides on crops.
Preparing for Winter:
After the summer, you won’t be growing much and cold weather can leave your plants looking limp and lifeless. Although many plants may need to be completely removed and start from fresh – you can take steps to reduce the damage that a frost can cause.
To help protect your plants over the winter, consider the following:
- Add strategically placed windbreakers if your garden is in a large open space to protect damage from large gusts. Very delicate plants can be protected overnight with an upturned flowerpot if need be.
- Add mulch to the soil to help protect from snow & frost.
- Water in the middle of the day. By watering at the warmest part of the day, it helps absorption as plants will still lose moisture through the leaves during a frost
- Plant positioning: The position of the sun changes during the winter – so consider moving your plants to maximise sunlight levels.
Enjoy the Garden!
When the garden is in full swing, take advantage of it as often as you can. Community gardens are a great place to be and when the work is done, it can be the perfect spot to socialise with the other volunteers in the community.
Sources:
https://www.rhs.org.uk/get-involved/community-gardening/resources/community-garden
https://www.gov.uk/find-local-council
https://ymliverpool.com/growing-liverpool-top-gardening-tips-community-projects/23945
